(Really) Beginners Microcontroller Guide (Part-I) Compiling the firstprogram
This tutorial will show you how to:
1. Write and compile your first program in WinAVR environment
2. Construct necessary hardware for the program execution
3. Load the program into Microcontroller using the Simplified SI Prog
The tutorial assumes that you have some knowledge of C/C++ programming. If you are looking for a good book to start AVR series C Programming for Microcontrollers Featuring ATMEL's AVR Butterfly and the free WinAVR Compiler is a great option.
Compiling the program
My program is quite simple. It will input from a port of a microcontroller checking if the pins are high or low. If the pin is high, the output will flash, other wise, the output will remain low.
Now to compile the code, we need the free winavr compiler. Download it from http://winavr.sourceforge.net/download.html
Install WinAVR.
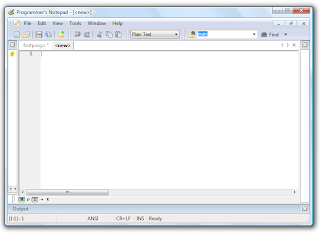
Now go to Start>Programs>WinAVR>Programmer's Notepad (XP) or Orb>All Programs>WinAVR>Programmer's Notepad (Vista)
The main window pops up:
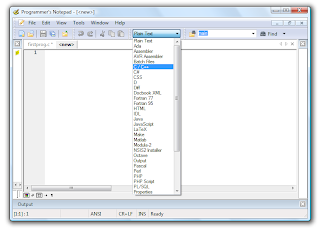
Select the coding scheme to C/C++ to better visualize the programming
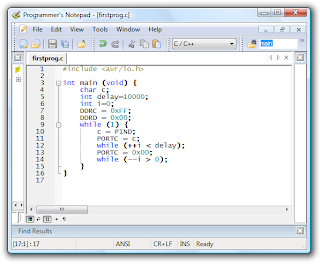
Now type / copy paste the program:
Now in order to compile the program using winavr, we need a MAKEFILE. The WinAVR comes with a make file creator called "Mfile[WinAVR]". Go to it by using start menu.
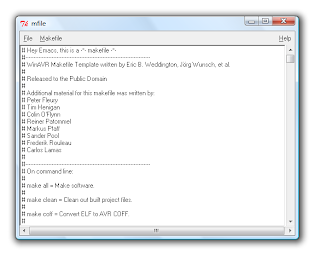
In the MFile Edit window, you have only two menu: File and Makefile. Click on Makefile, and change MCU Type to ATmega8,
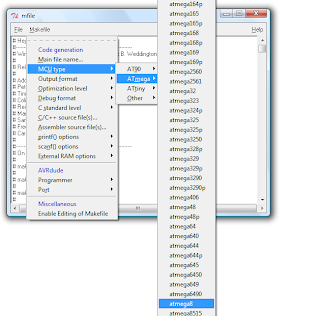
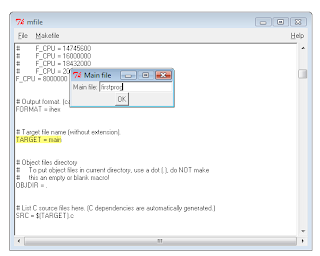
Change main program name to firstprog.c
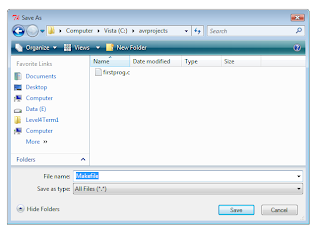
Now Click File>Save As, and provide filename MAKEFILE with no extensions, in the same directory where you created the firstprog.c
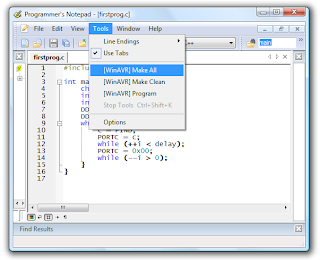
Now go back to programmers notepad, and select, Tools>[WinAVR] Make All
If there is no typo or other problems, the output window (Viewed by pressing F8) will show like this.
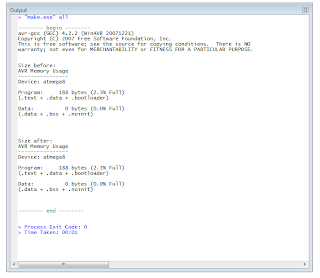
Congratulations, you have successfully compiled your first program. (Well, hopefully :-| )
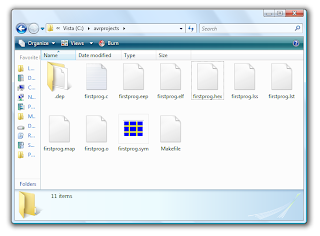
Your compiled files are in the folder:
Cont.. (Really) Beginners Microcontroller Guide (Part-II) Configuring Ponyprog properly and writing program to uC
The main window pops up:

Select the coding scheme to C/C++ to better visualize the programming

Now type / copy paste the program:
#include <avr/io.h>

int main (void) {
char c;
int delay=10000;
int i=0;
DDRC = 0xFF;
DDRD = 0x00;
while (1) {
c = PIND;
PORTC = c;
while (++i < delay);
PORTC = 0x00;
while (--i > 0);
}
}
Now in order to compile the program using winavr, we need a MAKEFILE. The WinAVR comes with a make file creator called "Mfile[WinAVR]". Go to it by using start menu.

In the MFile Edit window, you have only two menu: File and Makefile. Click on Makefile, and change MCU Type to ATmega8,

Change main program name to firstprog.c

Now Click File>Save As, and provide filename MAKEFILE with no extensions, in the same directory where you created the firstprog.c

Now go back to programmers notepad, and select, Tools>[WinAVR] Make All

If there is no typo or other problems, the output window (Viewed by pressing F8) will show like this.

Congratulations, you have successfully compiled your first program. (Well, hopefully :-| )
Your compiled files are in the folder:

Cont.. (Really) Beginners Microcontroller Guide (Part-II) Configuring Ponyprog properly and writing program to uC


0 comments:
Post a Comment